My last post was an introduction to how the design process begins. After that beginning, where I measure the existing building and site and then build a digital model of what’s there already, is when the back-and-forth with the client really begins.
The middle of the process is when I create design options and work through the project’s issues with the client. It’s when we find the best layout, talk about qualities like light, air, and materials, and select finishes and colors. For more on this, you can go to the sidebar on this page and download our white paper “The Design Process”.
Once the design is settled, that marks the end of the design process for the client. For me, it’s time to put together the final drawings and details for permits and construction. This involves the design at a deeper level. I’ll need to figure out the structure and how all the various construction materials will come together to keep the building safe, warm, and dry.
For me, the first step is to create a cartoon version of the drawings I’ll need. This helps me get an idea of how much work is involved, and keeps the set organized. As I’ve said in a previous post, clear communication is very important.
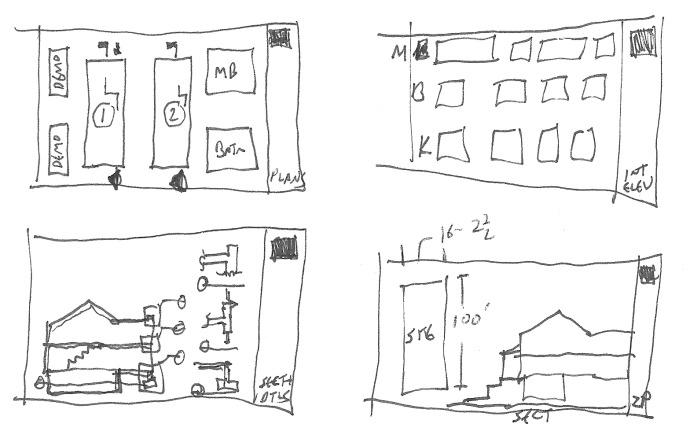
Of course, this is only a rough idea of what I’ll need to do. As I develop the larger-scale drawings, such as plans and building sections, I’ll identify additional areas that need to be enlarged to show more detail.
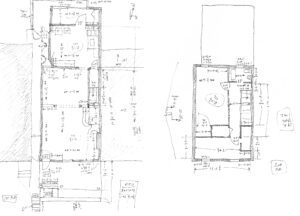
Here are the same sheets I sketched above, in their final form:
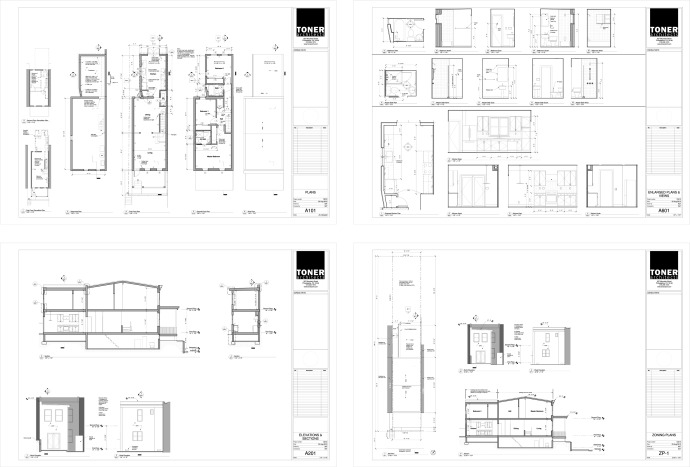
You can see that some things have been shifted around, added, and removed. A few other sheets were created to hold additional drawings, too.
There are three types of drawings here. First is the zoning permit drawing (below).
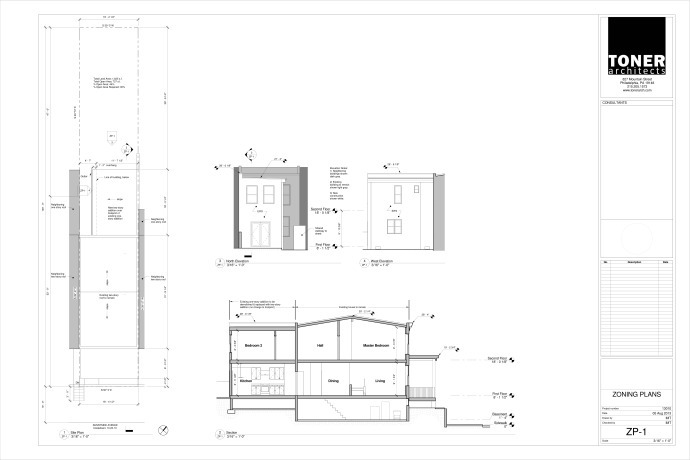
Zoning is concerned with the overall size of a building, its use, and its placement on the site. The sheet shows a site plan, and describes the building height and its overall relationship to the lot lines. It also shows what the outside of the building (or in this case, the additions to the existing building) will look like.
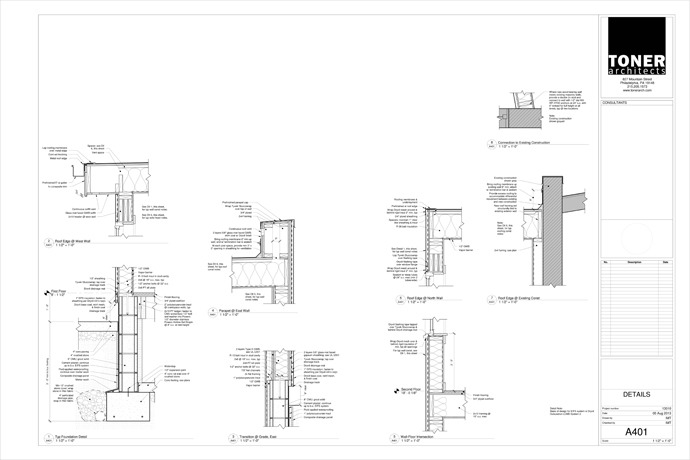
The second type of drawings are for the building permit. They include plans and sections (the two sheets on the left side, above) as well as details (below). The building permit review is concerned with how the building is built–its structure, materials, and fire safety. So these drawings show the size and type of structure to be used. They describe the interior and exterior finish materials. And finally, they describe the way in which things will be put together in order to keep out rain, keep in heat, and keep fire from spreading to the neighbors.
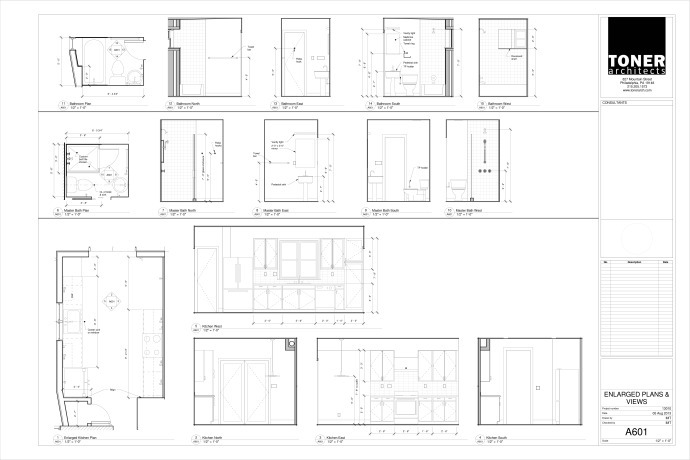
The third type of drawing is used primarily for construction. For this project, that means enlarged views of the kitchen and bathrooms, which are useful for the installers so they know what goes where. In the kitchen, the cabinets are shown and are dimensioned. In the bathrooms, things like towel bars, mirrors, and hooks are indicated. This gives the client a chance to see where everything will be, and then transfers this knowledge to the contractor during construction.
After everything is drawn, I print a set to check for any errors. Then final prints are made and are submitted to the city for review and approval, along with all the proper forms and signatures. This set is with the city now; hopefully we’ll get our permits soon and get started with construction!